
This lesson is made with PSPX9
But is good with other versions.
© by SvC-Design

Materialen Download :
Here
******************************************************************
Materials:
NarahsMasks_1563.jpg
lectrice_shadow.f1s
alpha_lectrice.pspimage
brush.pspimage
cadre.pspimage
sat-all01.pspimage
sat-femvec07.pspimage
sat-payfle02.pspimage
texte.pspimage
******************************************************************
Plugin:
Plugin - Mehdi - Wavy Lab 1.1
Plugin - Mehdi - sorting tiles
Plugin - Carolaine and Sensibility - CS-HLines
Plugin - Carolaine and Sensibility - CS-LDots
Plugin - AP01 Innovations,Line - silverlining - V shaped
Plugin - Mura's seamless - Emboss at alpha
Plugin - AP01 Innovations - Line silverlining - Dotty grid
Plugin - Eye Candy5 Impact - Perspective shadow
******************************************************************
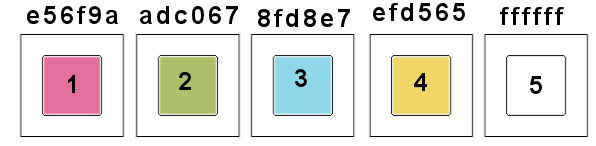
color palette
:
******************************************************************
methode
When using other tubes and colors, the mixing mode and / or layer coverage may differ
******************************************************************
General Preparations:
First install your filters for your PSP!
Masks: Save to your mask folder in PSP, unless noted otherwise
Texture & Pattern: Save to your Texture Folder in PSP
Selections: Save to your folder Selections in PSP
Open your tubes in PSP
******************************************************************
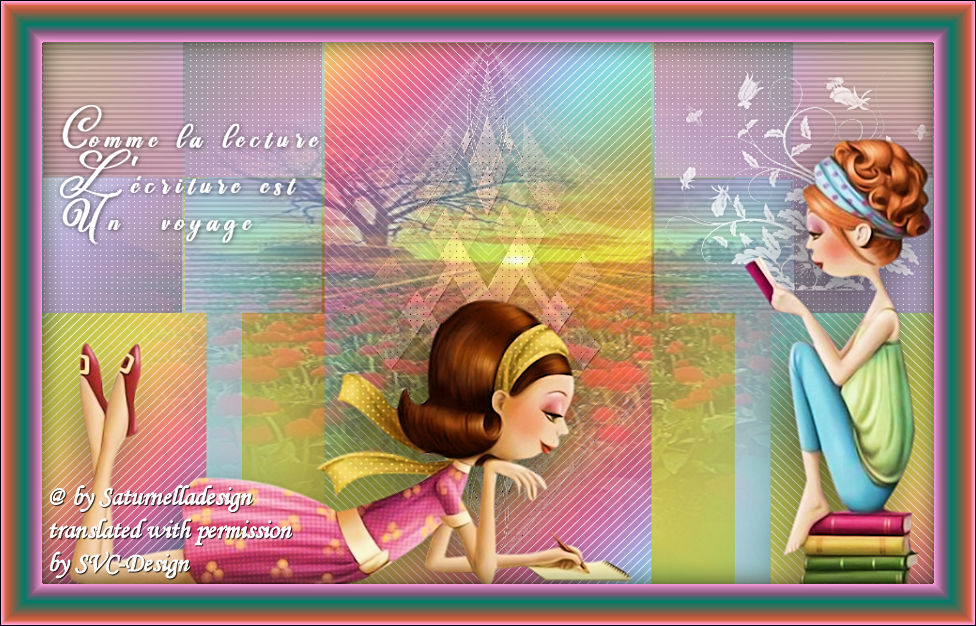
We will start - Have fun!
Remember to save your work on a regular basis
******************************************************************
Foreground: color 1
Background: color 2
1.
open alpha_lectrice.pspimage
Duplicate window and close original
Rename "raster 1"
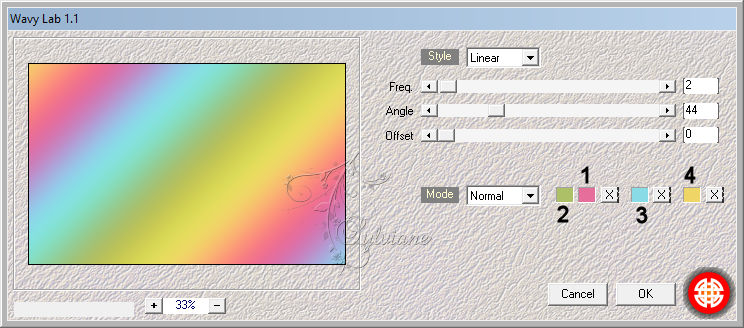
Plugin - Mehdi - Wavy Lab 1.1
2.
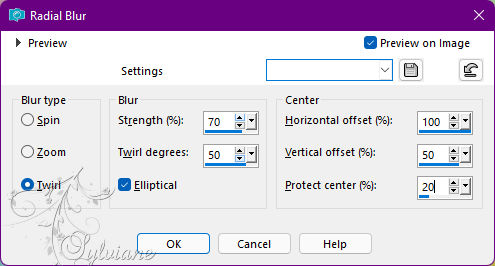
Adjust - blur - radial blur
3.
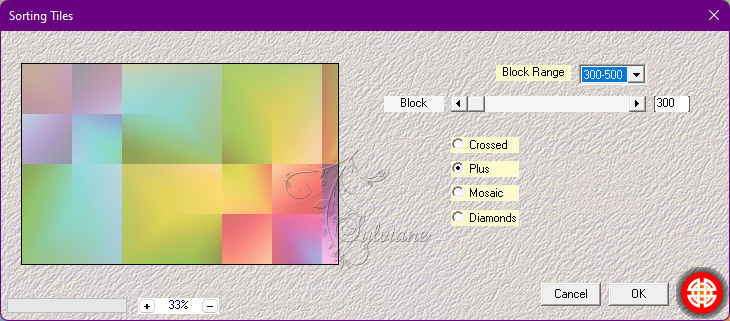
Plugin - Mehdi - sorting tiles
4.
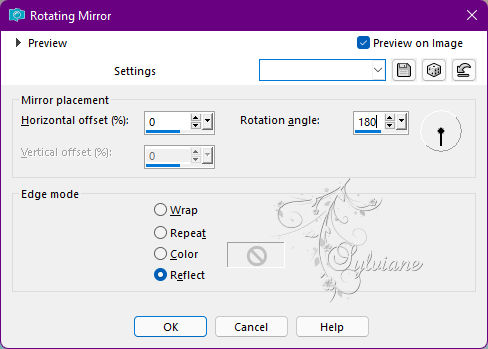
Effects – reflection effects – rotating mirror
5.
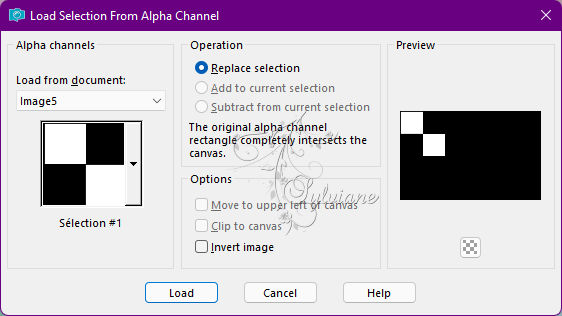
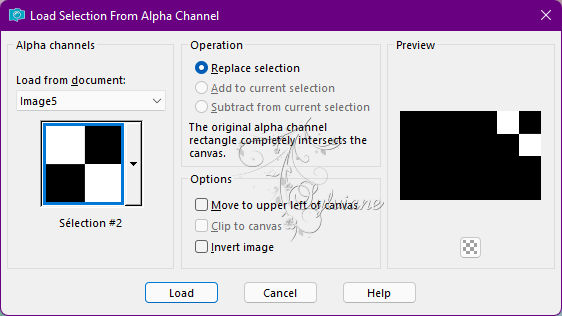
Selections - Load / Save - Load selection from Alpha Channel -
Load selection 1
Selections – Promote selections to layer
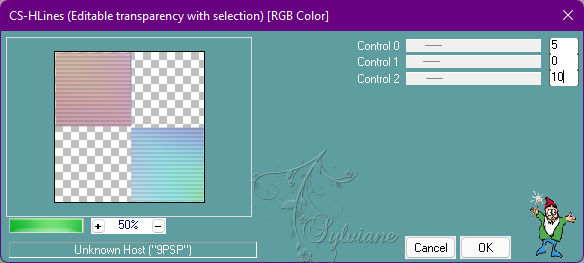
Plugin - Carolaine and Sensibility - CS-HLines
Selection - Select None
Layers - Duplicate
Image - Mirror – mirror Horizontal
Layers – merge – merge down
6.
place yourself on the bottom
Selections - Load / Save - Load selection from Alpha Channel -
Load selection 2
Selections – Promote selections to layer
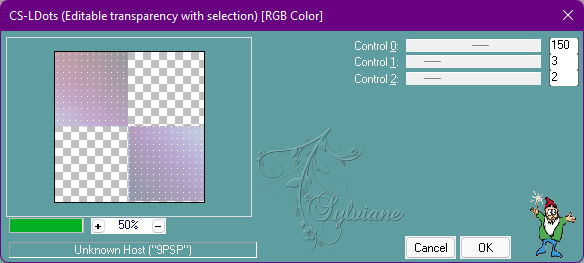
Plugin - Carolaine and Sensibility - CS-LDots
Selection - Select None
Layers - Duplicate
Image - Mirror – mirror Horizontal
7.
place yourself on the top layer
Layers – merge – merge down - 2 times
8.
place yourself on the bottom
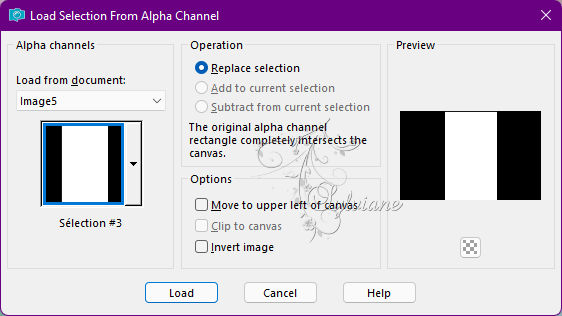
Selections - Load / Save - Load selection from Alpha Channel -
Load selection 3
Selections – Promote selections to layer
Plugin - Mehdi - Wavy Lab 1.1 - as at the beginning
9.
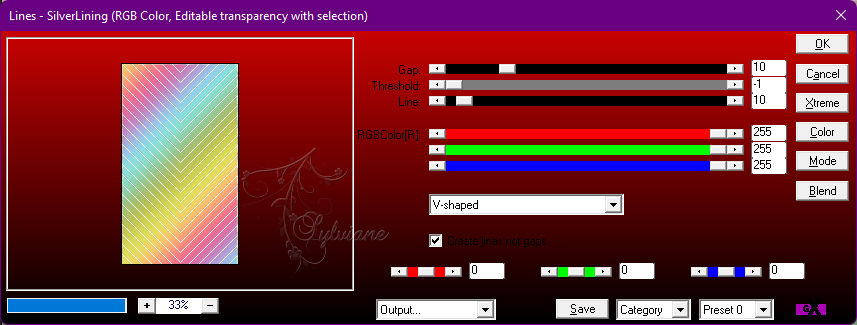
Plugin - AP01 Innovations,Line - silverlining - V shaped
Selection - Select None
10.
Layers - Duplicate
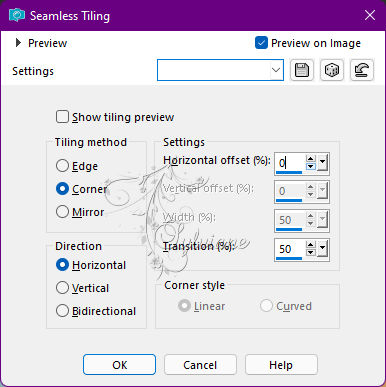
Effects - Image Effects - Seamless Tiling
11.
place yourself on the bottom layer
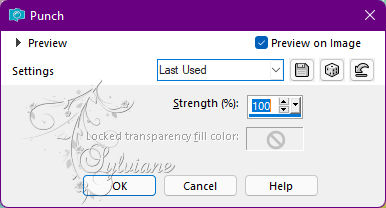
Effects – distortion effects – punch
12.
place yourself at the top of the pile
Layers - New Raster Layer
Fill with color 5
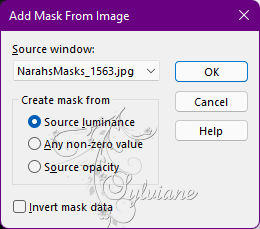
Layers - New Mask Layer - From Image -
NarahsMasks_1563 mask
Adjust – scharpness – scharpen more
Layers - Merge - Merge Group
13.
Effects - geometric effects – Circle
transparent checked
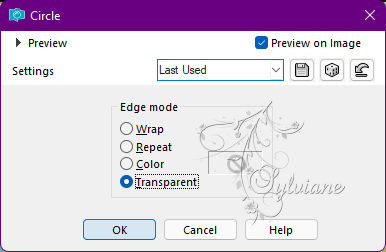
Edit repeat circle
14.
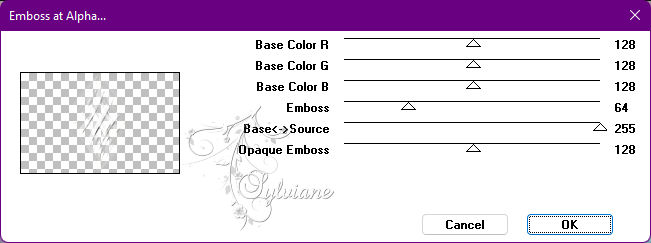
Plugin - Mura's seamless - Emboss at alpha,default
15.
Effects - 3 D effects - Drop shadow
0/0/50/30 color:#000000
16.
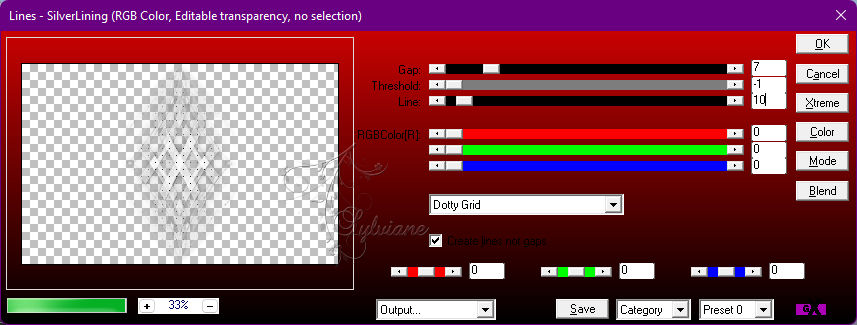
Plugin - AP01 Innovations - Line silverlining - Dotty grid
Layers - Merge - Merge visible layers
17.
Open sat-femvec07.pspimage
Edit – Copy
Edit - Paste as new layer
Resize 1 time to 75% and 1 time to 85%, a single layer
Image - Mirror – mirror Horizontal
place on the right
18.
Plugin - Eye Candy5 Impact - Perspective shadow
Setting: lectrice_shadow and ok
19.
Open sat-all01.pspimage
Edit – Copy
Edit - Paste as new layer
Resize 1 time to 75% and 1 time to 80%
Image - Mirror – mirror Horizontal
place on the left
Plugin - Eye Candy5 Impact - Perspective shadow - as before
20.
Open texte.pspimage
Edit – Copy
Edit - Paste as new layer
Place
Effects - 3 D effects - Drop shadow
1/1/50/10 color:#000000
21.
Open brush.pspimage
Edit – Copy
Edit - Paste as new layer
Place at the top right, behind the character tube
image - negative
Resize to 80%
Effects - 3 D effects - Drop shadow - as before
I lowered the opacity to 70
22.
place yourself on the bottom
Selection - Select All
Layers - New Raster Layer
Open sat-payfle02.pspimage
Edit – Copy
Edit - Paste into selection
Selection - Select None
I lowered the opacity to 50
23.
Layers - Merge - Merge visible layers
Edit - copy
24.
Open cadre.pspimage
Click in the center with the magic wand
Selections – modify – expand – 3 pixels
Edit - Paste into selection
25.
Layers - New Raster Layer
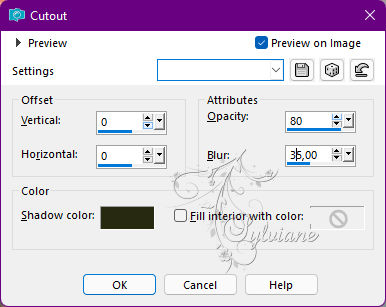
Effects - 3D effects – Cutout
Selection - Select None
26.
put your watermark on it
Image - Add Borders – Symmetric - 1 px – color:#000000
Resize to 950 pxls wide
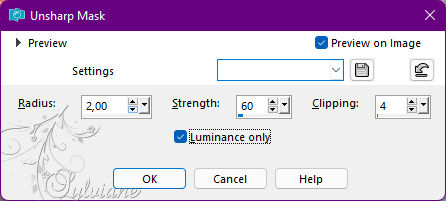
Adjust - sharpness - unsharp mask
Save as JPEG
Back
Copyright Translation © 2022 by SvC-Design